How Do I Change The Strings On My Guitar?
A Step-by-Step Guide: How Do I Change the Strings on My Guitar?
Changing the strings on your guitar is a fundamental skill that every guitarist should master. Whether you're a beginner or a seasoned player, regular string maintenance is crucial for achieving optimal tone and playability. In this comprehensive guide, we'll walk you through the step-by-step process of changing your guitar strings, answering the common question: "How do I change the strings on my guitar?"
Step 1: Gather Your Materials
Before diving into the process, ensure you have all the necessary materials on hand:
- New guitar strings
- String winder (optional but recommended)
- Wire cutters
- Tuner
- Cloth or tissue for cleaning (optional)
Step 2: Choose the Right Strings
Selecting the appropriate strings for your guitar is key. Look for the gauge information on the string package or refer to your guitar's manual for guidance on the ideal string thickness.
Step 3: Loosen the Old Strings
Use the tuning pegs to loosen the tension of the old strings. Turn the pegs counterclockwise until the tension is low enough to easily remove the strings.
Step 4: Remove the Old Strings
For acoustic guitars, unwind the strings from the tuning pegs and remove them from the bridge by pulling out the bridge pins. For electric guitars, simply unwind the strings from the tuning pegs.
Step 5: Clean Your Guitar
Take advantage of the string-changing process to clean your guitar. Wipe away any accumulated dirt or residue on the fretboard and other areas using a cloth or tissue.
Step 6: Attach the New Strings
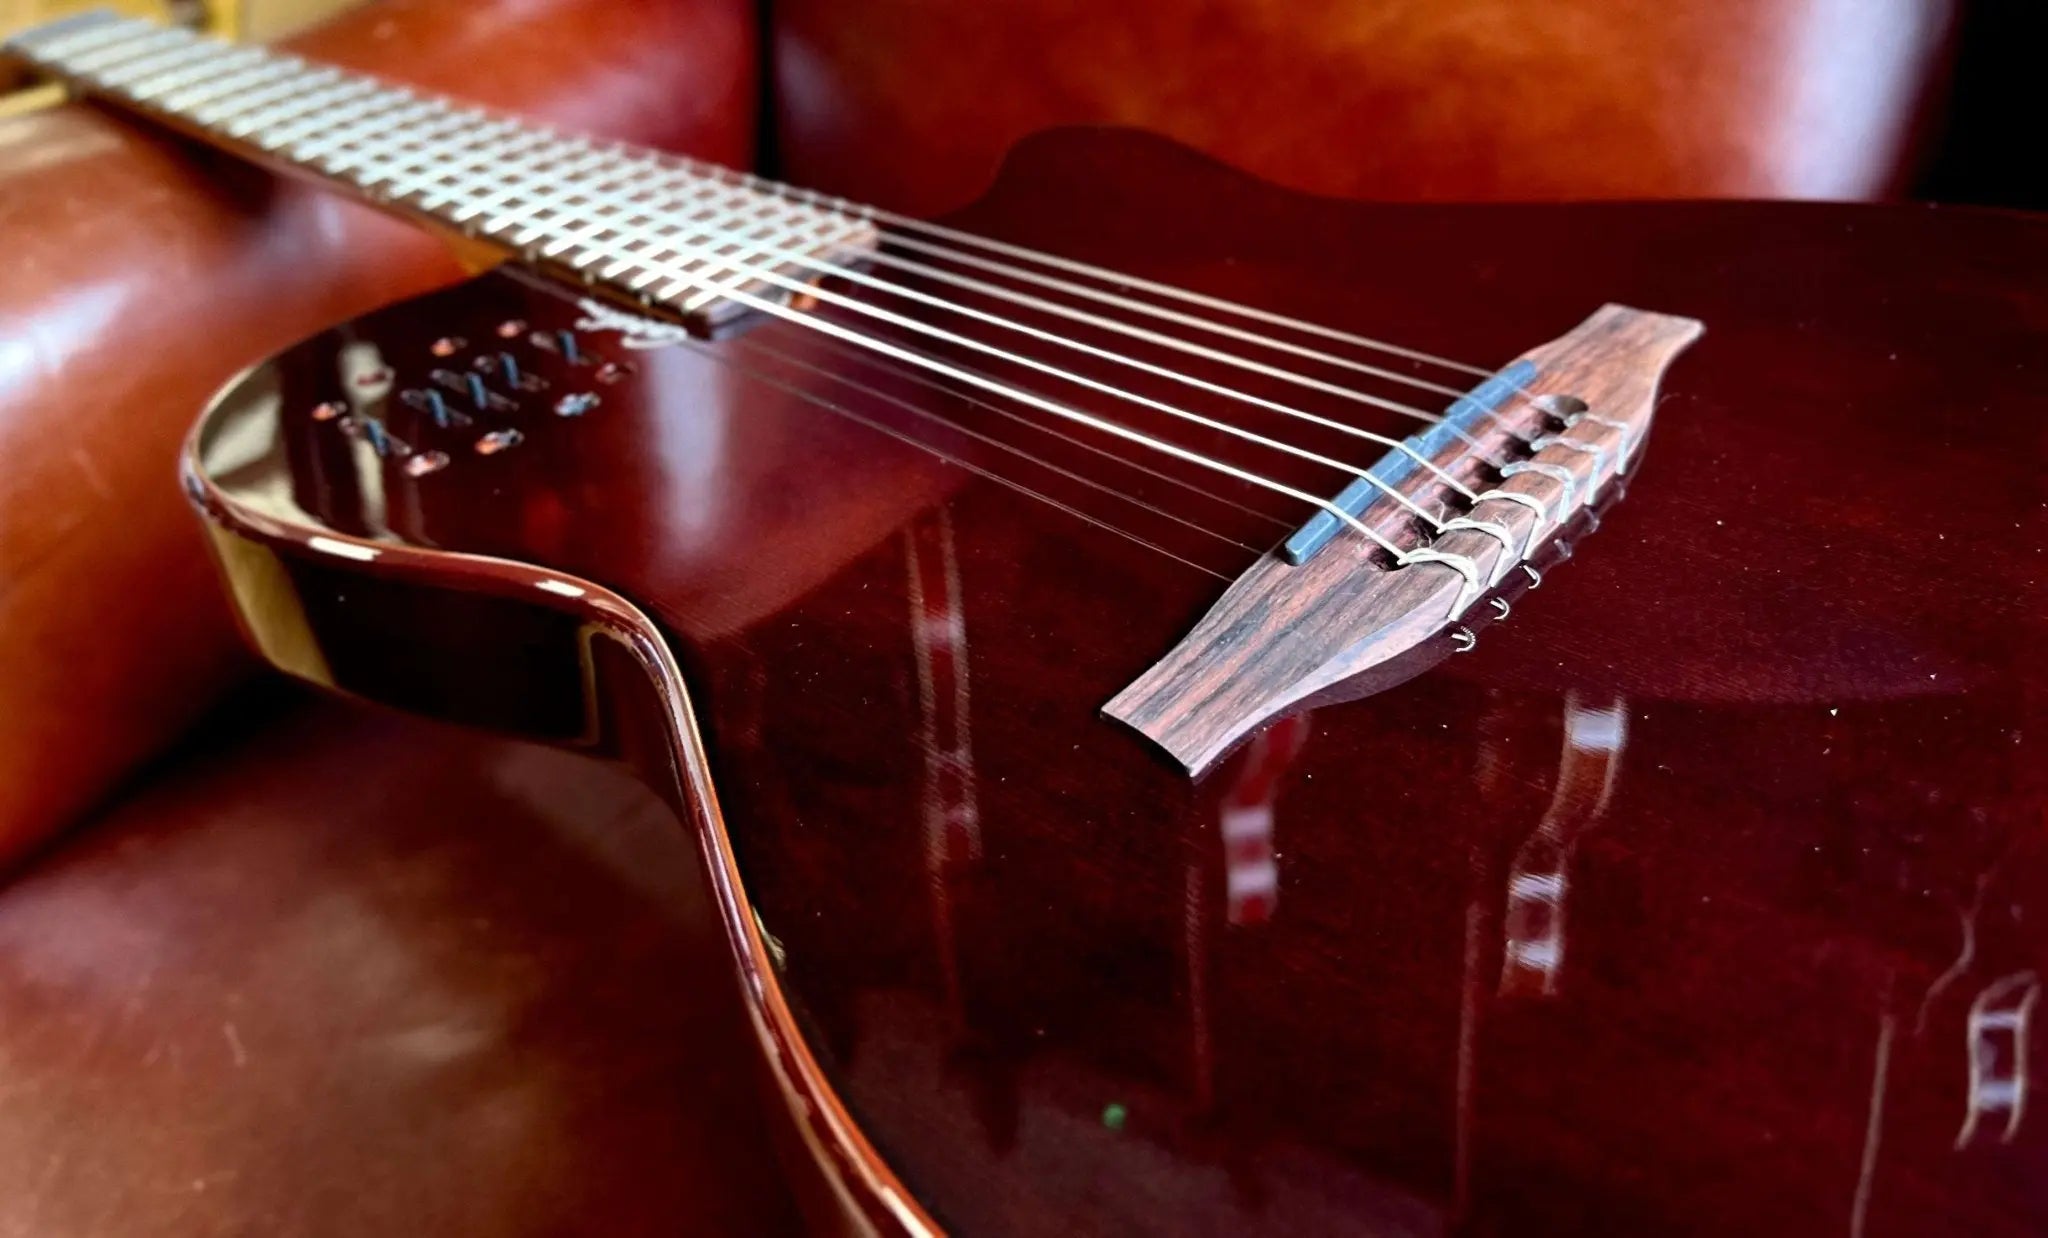
Starting with the thickest string, insert the ball end into the bridge or tailpiece. For acoustic guitars, secure the string with the bridge pin. For electric guitars, guide the string through the bridge and pull it until the ball end is secure.
Step 7: Wind the Strings
Insert the free end of the string through the appropriate tuning peg hole, leave some slack, and use a string winder to turn the peg clockwise. Tune the string to the correct pitch using a tuner.
Step 8: Repeat for All Strings
Follow steps 6 and 7 for the remaining strings, working from thickest to thinnest.
Step 9: Stretch and Tune
Gently stretch each string by pulling it away from the fretboard to help the strings settle. Tune the guitar using a tuner, making fine adjustments as needed.
Step 10: Cut Excess String
Use wire cutters to trim the excess string protruding from the tuning pegs.
Congratulations! you've successfully changed your guitar strings! Regularly changing strings not only maintains the health of your instrument but also enhances your overall playing experience. By following this step-by-step guide, you'll keep your guitar sounding its best. Now that you know how to change your guitar strings, make it a part of your routine to ensure your musical journey is always in tune.











![Gordon Smith GS2 Deluxe Export 2019 [used] A1 Condition - Richards Guitars Of Stratford Upon Avon](http://rguitars.co.uk/cdn/shop/files/gordon-smith-gs2-deluxe-export-2019-used-a1-condition-4323398.jpg?v=1766153718&width=1072)
![Gordon Smith GS2 Deluxe Export 2019 [used] A1 Condition - Richards Guitars Of Stratford Upon Avon](http://rguitars.co.uk/cdn/shop/files/gordon-smith-gs2-deluxe-export-2019-used-a1-condition-9502671.jpg?v=1766153718&width=899)


![G&L USA Made ASAT - late 80s/early 90s [Used] - Richards Guitars Of Stratford Upon Avon](http://rguitars.co.uk/cdn/shop/files/gl-usa-made-asat-late-80searly-90s-used-1091932.jpg?v=1761670676&width=1378)
![G&L USA Made ASAT - late 80s/early 90s [Used] - Richards Guitars Of Stratford Upon Avon](http://rguitars.co.uk/cdn/shop/files/gl-usa-made-asat-late-80searly-90s-used-7964817.jpg?v=1761670677&width=1828)
![Eastman AC630 - SB [Used] - Richards Guitars Of Stratford Upon Avon](http://rguitars.co.uk/cdn/shop/files/eastman-ac630-sb-used-5743157.jpg?v=1760421581&width=1080)
![Eastman AC630 - SB [Used] - Richards Guitars Of Stratford Upon Avon](http://rguitars.co.uk/cdn/shop/files/eastman-ac630-sb-used-2967411.jpg?v=1760421593&width=1569)
![Fender American Professional II Jazzmaster - Dark Night [Used] guitar for sale uk](http://rguitars.co.uk/cdn/shop/files/fender-american-professional-ii-jazzmaster-dark-night-used-6840250.jpg?v=1760421430&width=1602)
![Fender American Professional II Jazzmaster - Dark Night [Used] guitar for sale uk](http://rguitars.co.uk/cdn/shop/files/fender-american-professional-ii-jazzmaster-dark-night-used-4375294.jpg?v=1760421432&width=1476)
![Guild Brian May "Red Special" Limited Edition - early 90s - One of 1000 [Used] guitar for sale uk](http://rguitars.co.uk/cdn/shop/files/guild-brian-may-red-special-limited-edition-early-90s-one-of-1000-used-6139630.jpg?v=1760421357&width=1492)
![Guild Brian May "Red Special" Limited Edition - early 90s - One of 1000 [Used] guitar for sale uk](http://rguitars.co.uk/cdn/shop/files/guild-brian-may-red-special-limited-edition-early-90s-one-of-1000-used-9797150.jpg?v=1760421365&width=1644)












Leave a comment
This site is protected by hCaptcha and the hCaptcha Privacy Policy and Terms of Service apply.